Hey there, digital explorer! Ever feel like you're drowning in information, or maybe, just maybe, you’re missing out on all the really cool stuff happening out there? Like, have you ever desperately searched the internet for news about your favorite obscure indie band, only to be bombarded with articles about another band with a suspiciously similar name? Yeah, been there. It's enough to make you want to chuck your laptop out the window, right? Well, hold on to your hardware, because I’m about to spill the beans on a super simple, totally free secret weapon that’ll change your online life: Google Alerts.
Think of Google Alerts as your personal internet butler. You tell him what you’re interested in – whether it's your company’s latest product launch, a celebrity you’re secretly obsessed with (no judgment!), a niche hobby like collecting antique teacups, or even just funny cat videos with squirrels – and he’ll dutifully patrol the vast digital realm for you. And the best part? He’ll send you a little heads-up whenever something new pops up. It’s like having a tiny, tireless informant whispering sweet nothings of relevant info directly into your inbox. Pretty neat, huh?
So, how do we summon this digital genie? It’s ridiculously easy. Seriously, if you can send an email, you can set up a Google Alert. No coding degrees required, no secret handshake with the internet gods. Just a few clicks and a dash of your brilliant brainpower. Let’s dive in!
Ready, Set, Alert! Your Step-by-Step Guide
First things first, you’ll need a Google account. If you’ve ever sent a cat meme to your grandma or watched a questionable tutorial on how to fold a fitted sheet (we’ve all been there), you probably already have one. If not, signing up is a breeze. Just head over to Google.com and look for the “Sign in” button. Easy peasy.
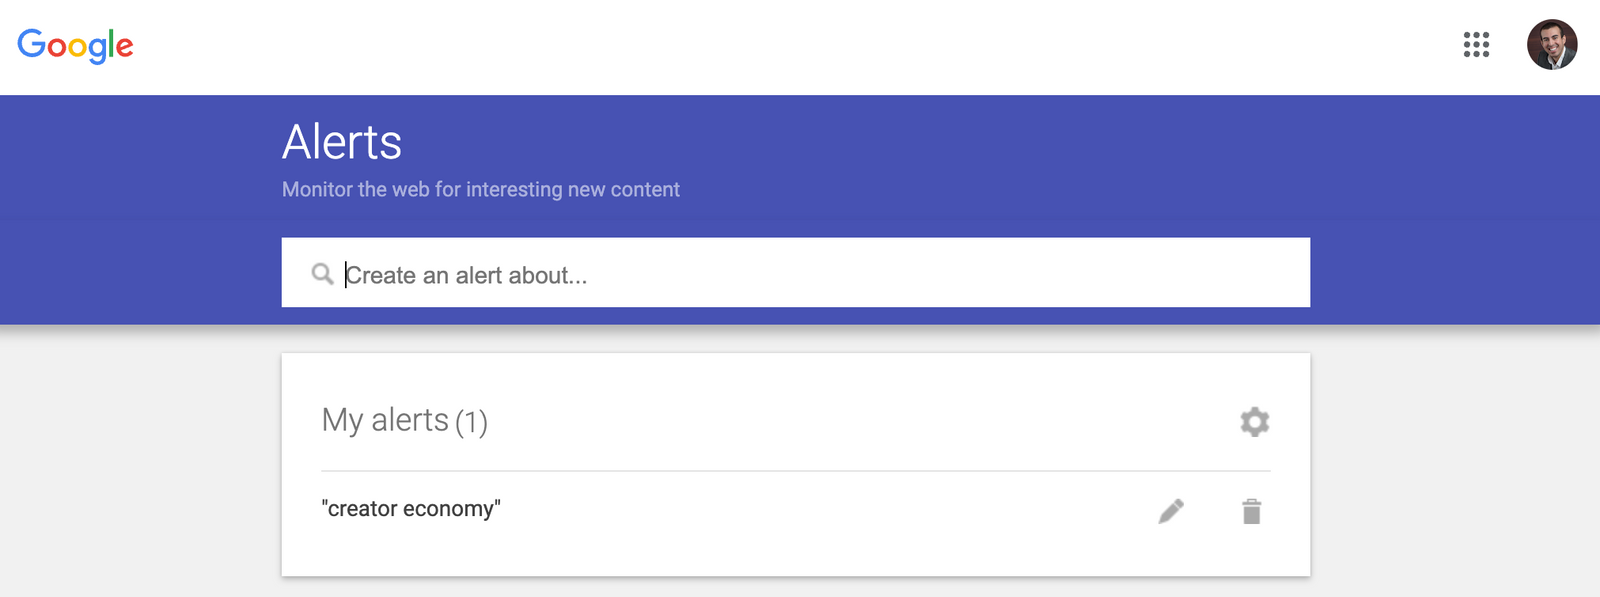
Once you’re logged in, it’s time to make some magic happen. Open up a new tab in your trusty browser and type in google.com/alerts. Don't worry, it's not a trap. This is the official portal for all things alert-related.
You’ll be greeted with a rather… minimalist page. Don’t let its simplicity fool you; it’s a powerhouse in disguise. See that little search bar right at the top? This is where the magic begins. This is where you tell Google what you want to know about.
Step 1: Choose Your Keyword(s) – Be Specific, But Not Too Specific!
This is probably the most important step, so pay attention! What do you want to be alerted about? Let’s say you’re a huge fan of… oh, I don’t know, artisanal cheese. You’d type “artisanal cheese” into the search bar. Simple enough. But what if you’re really passionate about, say, Gruyère cheese made in the Swiss Alps during a full moon? While that’s incredibly specific and I admire your dedication, you might not get many results. Google works best with terms that are likely to appear naturally on websites.
Think about the core of what you’re looking for. If it’s a person, use their name. If it’s a company, use the company name. If it’s a topic, try to find the most common way people refer to it.

Pro Tip: Use quotation marks for exact phrases! If you’re only interested in mentions of “Star Wars: The Force Awakens” and not just “Star Wars” or “The Force Awakens” separately, type “Star Wars: The Force Awakens”. This will narrow down your results significantly and save you from wading through unrelated content.
What if you want to track multiple, slightly different things? You can create separate alerts for each! So, if you love both Gruyère and cheddar, you’d set up one alert for “Gruyère cheese” and another for “cheddar cheese.” It’s like having multiple little detectives on the case!
Step 2: Preview Your Results – Don't Be Shy!
Before you commit, Google is super kind and lets you see a preview of what your alert might find. As you type your keywords, you’ll see a little “Preview of results” box appear below the search bar. This is your chance to see if Google is actually understanding what you’re looking for. If the preview shows a bunch of random stuff, you might need to tweak your keywords. For example, if you typed “apple” and are getting results about the fruit when you really want to know about the tech company, you might want to try “Apple Inc.” or “Apple products”. See? It's all about a little bit of trial and error, like figuring out the perfect coffee-to-milk ratio.
Step 3: Customize Your Alert – The Fun Part!
Once you’re happy with your keywords, hit the “Show options” button. This is where you get to fine-tune your alert and make it work exactly how you want it to. Don’t be intimidated; it’s mostly just a few dropdown menus. Let’s break them down:
How often: This is where you tell your digital butler how often you want him to check in. Your options are usually:

- As-it-happens: This is for when you need to be on the cutting edge of… well, whatever it is you’re tracking. Think breaking news or stock market fluctuations. This can flood your inbox, so use it wisely!
- At most once a day: This is a good default for most people. You get a digest of everything that’s happened that day, all bundled up nicely.
- At most once a week: Perfect for less time-sensitive topics. Think industry trends, new product announcements, or celebrity gossip that can wait a few days.
Choose the frequency that best suits your sanity and your inbox. Remember, a happy inbox is a happy life!
Sources: Here, you can tell Google where to look for information. You can choose “Automatic,” which means Google will search across its vast index of websites, news articles, blogs, and more. Or, you can be more specific and select “News,” “Blogs,” “Websites,” “Books,” “Discussions,” or “Video.” For most general interests, “Automatic” is usually the way to go. But if you’re a dedicated academic researcher focusing on, say, ancient pottery, you might want to narrow it down to “Books” and “Websites.”
Language: This one’s pretty straightforward. If you only want to see results in English, select “English.” If you’re fluent in multiple languages and want to cast a wider net, you can choose another language. Just make sure you’re ready for whatever comes your way!
Region: Similar to language, you can specify a geographical region. If you’re tracking local news or events, this is super useful. Otherwise, leaving it as “Any region” is usually fine.
How many: This setting determines the quantity of results you’ll receive. You can choose “All results,” which will send you every single mention Google finds (potentially overwhelming!), or “Only the best results,” which is Google’s smart way of filtering out the noise and showing you the most relevant and high-quality content. For most users, “Only the best results” is the sweet spot.

Deliver to: Finally, you choose where you want your alerts to be delivered. Your primary email address is the default, but you can also choose to receive them via RSS feed if you’re feeling fancy and prefer to manage your alerts through an RSS reader. For most people, the email option is the simplest and most effective.
Step 4: Create Your Alert – You’re Almost There!
Once you’ve tweaked all your settings, it’s time for the grand finale. Click that big, beautiful “Create Alert” button. And voilà! You’ve just set up your very own Google Alert. Give yourself a pat on the back. You’re a digital wizard!
Managing Your Alerts: Your Command Center
So, what happens now? Well, you can set up as many alerts as you like! Want to track your favorite sports team, upcoming tech gadgets, recipes for vegan brownies, and all mentions of the word “shenanigans”? Go for it! Your Google Alerts dashboard is your command center.
To view, edit, or delete your existing alerts, simply go back to google.com/alerts. You’ll see a list of all the alerts you’ve created. From here, you can:
- Edit an alert: Made a typo in your keyword? Want to change the frequency? Just click the “edit” button next to the alert you want to modify.
- Delete an alert: Found out everything you ever needed to know about artisanal cheese, or decided you’re no longer interested in celebrity gossip? Click the “delete” button. Bye-bye, alert!
- Pause an alert: Sometimes you just need a break. You can pause an alert temporarily without deleting it completely.
It’s like having a remote control for your online information stream. Pretty empowering, right?
Why Google Alerts Are Your New Best Friend (Besides Coffee)
Let’s be honest, the internet is a wild and wonderful place, but it can also be a chaotic mess. Google Alerts help you tame that chaos. Here are just a few reasons why they’re seriously awesome:
- Stay Informed: Never miss a beat when it comes to topics that matter to you. Whether it’s industry news, competitor activity, or the latest on your favorite author, you’ll be in the know.
- Research Made Easy: If you’re a student, journalist, or just someone who likes to be well-informed, alerts can be a fantastic research tool. They bring relevant information directly to you.
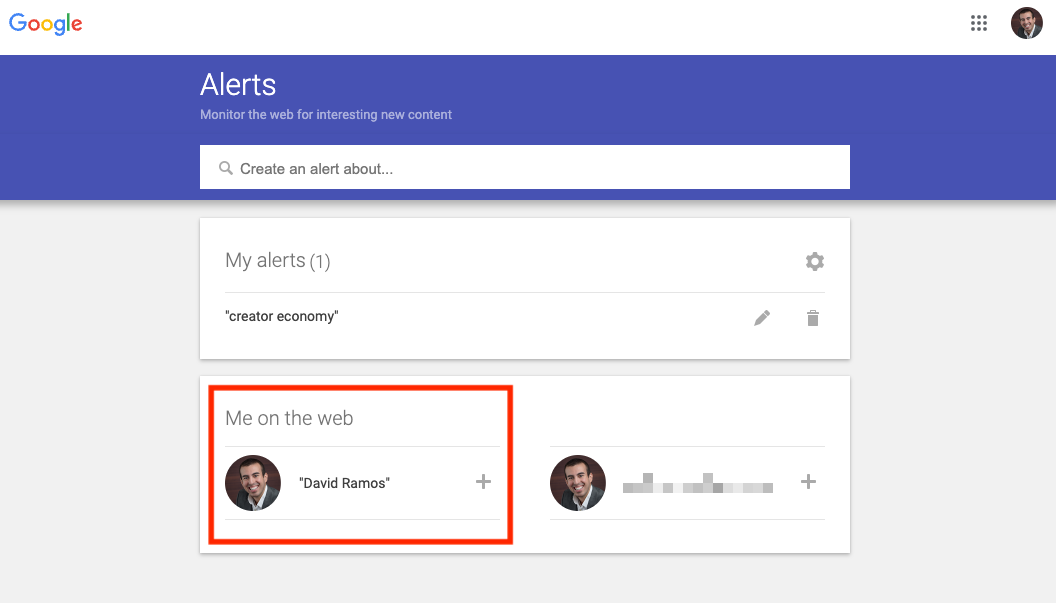
- Monitor Your Brand/Name: If you have a business, a personal brand, or even just a unique name, setting up an alert for it can help you see what people are saying about you online. It’s great for reputation management and spotting opportunities.
- Discover New Content: You might be surprised by the interesting articles, blogs, or discussions that pop up. It’s a great way to discover new voices and perspectives.
- Save Time: Instead of endlessly searching, let Google Alerts do the heavy lifting. This frees up your time for more important things, like… well, you know, more internet browsing, but smarter internet browsing.
Think about it: no more digging through pages of search results, no more feeling overwhelmed by the sheer volume of information. Google Alerts acts as your personal curator, sifting through the digital haystack to find the needles you care about.
A Little Something Extra: Crafting Killer Alerts
To really get the most out of Google Alerts, a little bit of strategic thinking can go a long way. Here are some advanced-ish tips:
- Negative Keywords: While Google Alerts doesn't have a direct "exclude" function like some advanced search tools, you can sometimes use quotation marks with a space to imply exclusion. For example, if you're looking for "apple pie recipes" but want to avoid anything mentioning "apple juice," you might try searching for "apple pie recipes" - "apple juice". It’s not foolproof, but it can help!
- Combine Terms: Use AND in your search terms if you want both terms to appear. For example, "artificial intelligence" AND "ethics" will only show results where both phrases are present.
- Be Playful! Don't be afraid to get a little creative. What about tracking mentions of "the best pizza in Rome"? Or maybe "tips for training a stubborn corgi"? The possibilities are as endless as the internet itself.
Remember, the goal is to make your online experience more efficient and enjoyable. Google Alerts is your friendly guide on this journey.
So there you have it! Setting up Google Alerts is a game-changer for anyone who wants to stay informed without feeling like they’re constantly swimming upstream. It’s a simple, free, and incredibly effective tool that puts the power of information right at your fingertips. Now go forth, set up your alerts, and embrace the joy of knowing exactly what you want to know, when you want to know it. May your inbox be filled with delightful discoveries and not just spam! Happy alerting!


