Ah, recessed lighting! Those sleek, unobtrusive little spotlights that transform a room from drab to dazzling. There's a certain satisfaction in creating that perfect ambiance, isn't there? Whether you're setting the mood for a cozy movie night or illuminating your culinary masterpieces, recessed lights are the unsung heroes of modern home decor. And while their magic is usually about leaving them be, eventually, even the brightest stars need replacing. So, let's talk about the surprisingly satisfying, and often quite simple, art of removing a light bulb from recessed lighting.
Why is this a thing we'd write about? Well, beyond the obvious need for a fresh glow, there's a practical brilliance to understanding this simple home maintenance task. It empowers you to take control of your home's lighting, saving you a trip to the handyman or the hassle of waiting for a professional. Think of it as a tiny victory in the realm of DIY! Being able to swap out a burnt-out bulb means your favorite reading nook never has to suffer from darkness, and your carefully curated gallery wall always shines its best. It’s about maintaining that seamless, sophisticated look without interruption.
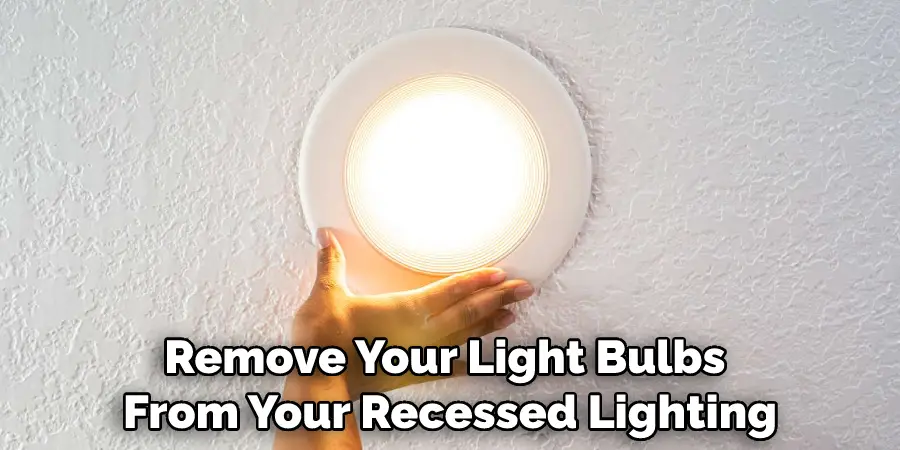
You'll find recessed lighting gracing the ceilings of kitchens, living rooms, hallways, and even bathrooms. They're perfect for highlighting artwork, creating task lighting over countertops, or providing general illumination in large spaces. The beauty lies in their invisibility until they're switched on, making them incredibly versatile. From the dramatic spotlight effect to a soft, diffused glow, the type of bulb you choose and the way it's installed significantly impacts the overall feel of a room. And when one of those bulbs decides to call it a day, a quick replacement is all that stands between you and continued brilliance.
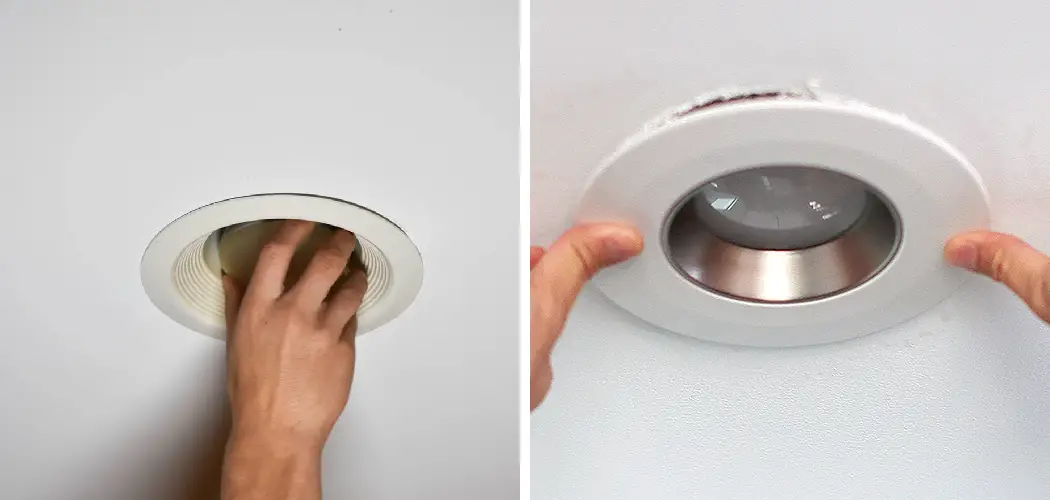
Now, how can we make this process even more enjoyable, or at least less daunting? First and foremost, safety first! Always ensure the power to the recessed light is completely switched off at the breaker box. Don't just rely on the wall switch; that can be a misleading friend. Next, gather your tools. You might need a stepladder – make sure it's sturdy and placed on a level surface. For some fixtures, a simple twist is all it takes. Others might have clips or a retaining ring. If you encounter resistance, don't force it! Gently try wiggling the bulb or looking for hidden clips. Sometimes, a special tool called a suction cup bulb changer can be a lifesaver, especially for those high-up fixtures, and they add a touch of gadget-geekery to the task!
To truly enhance the experience, consider this: the next time you're replacing a bulb, take a moment to appreciate the engineering. Think about the light it's about to cast. You might even want to have your new bulb ready and in your hand. This way, as soon as the old one is out, the new one can go in with minimal downtime. It’s a swift, satisfying cycle. And if you're feeling particularly ambitious, consider upgrading to LED bulbs. They last longer, are more energy-efficient, and come in a variety of color temperatures, allowing you to further tailor the ambiance of your space. So, next time a bulb flickers, embrace the opportunity for a little home improvement – it’s a small act with a big, bright impact!


/SPR-how-to-remove-a-stuck-recessed-light-bulb-5324231-hero_31075-4695fee047f449e0ac4b6f9d94641756.jpg)