I’ll never forget the time my old ’98 Camry sputtered and died on a deserted stretch of highway at precisely 2 AM. The kind of dark where you can’t even see your hand in front of your face, the kind where the only sounds are crickets having a rave and your own increasingly panicked breathing. My first thought, naturally, was “Ghosts!” My second, a bit more practical but still fueled by adrenaline, was “It’s gotta be the battery, right?” Nope. Turns out, after a very expensive tow and a chat with a mechanic who probably had seen it all, it was the alternator. The smug, silent culprit that had been slowly, meticulously draining my car’s lifeblood without me even knowing.
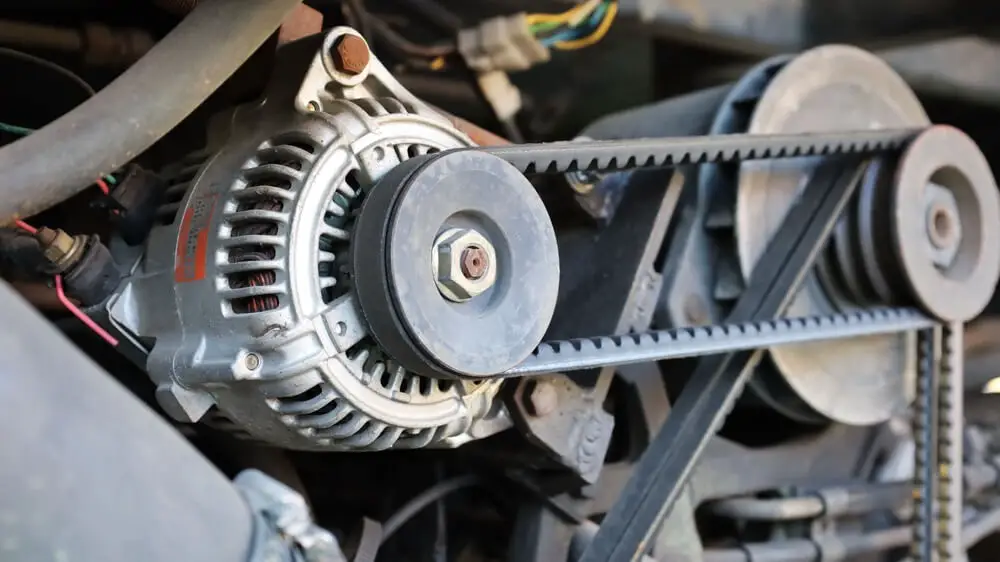
Now, the mechanic, a gruff but kind soul named Earl, gave me the whole spiel. He explained how the alternator is basically the car’s personal power plant, keeping everything charged up while the engine’s running. He made it sound so… important. And then he said something that piqued my curiosity: “Sometimes, a good clean can work wonders.”
A clean? For an alternator? My brain, still reeling from the ghost-less, battery-less reality, did a little flip. I’d always thought of alternators as these sealed, mystical boxes of electrical wizardry. You don’t exactly see people scrubbing them with a toothbrush, do you? But Earl’s casual suggestion lodged itself in my mind, and I started wondering. Can you actually clean an alternator? And if so, why isn’t this a more common DIY tip shared at every backyard barbecue?
This whole experience got me down a rabbit hole of automotive curiosity. You know how it is, one little question leads to a dozen more, and before you know it, you’re spending your Saturday afternoon watching obscure YouTube videos about automotive electrical systems. It’s a dangerous but often rewarding path, folks. So, let’s dive in, shall we? Let’s explore the murky, and sometimes greasy, world of alternator cleaning.
So, Can You Actually Clean An Alternator?
The short, sweet, and perhaps slightly anticlimactic answer is: yes, you can clean an alternator, but with significant caveats. It’s not like washing your car’s exterior, where you can just hose it down and expect a sparkling finish. This is a delicate electrical component, and a heavy-handed approach can do more harm than good. Think of it less as a deep clean and more as a targeted dusting and gentle degreasing.
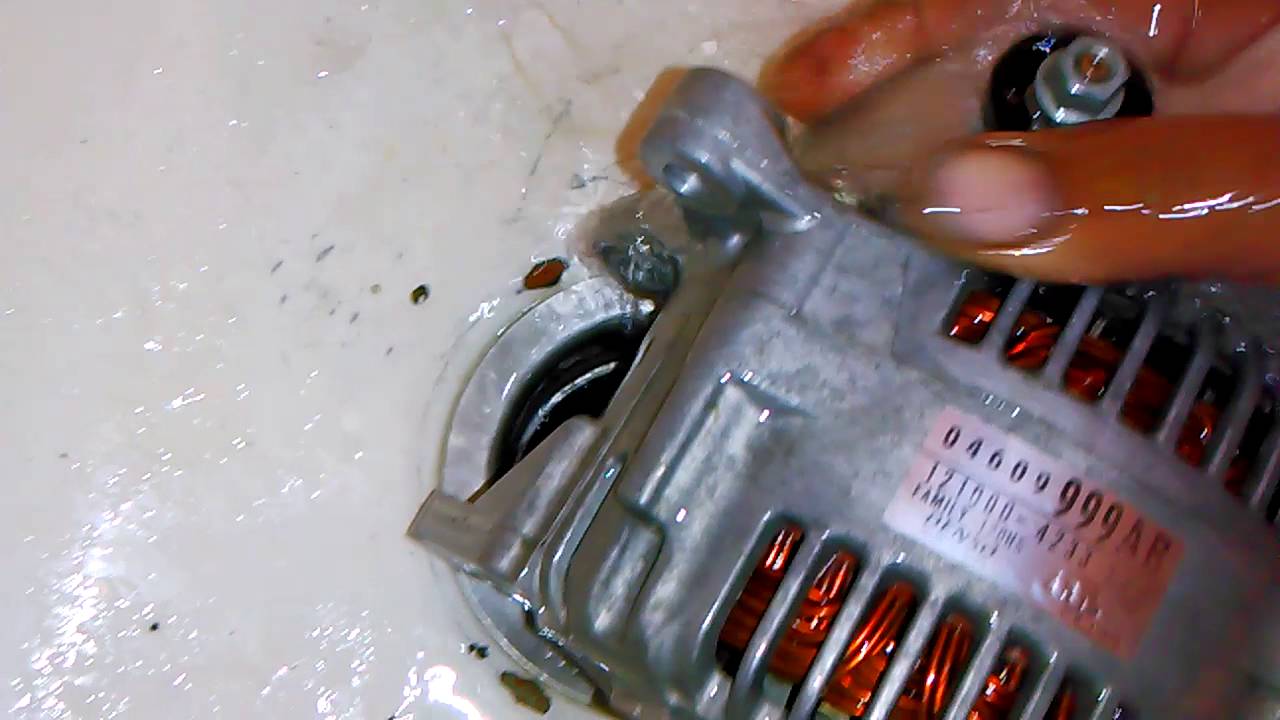
Earl, bless his mechanical heart, wasn’t wrong. A dirty or corroded alternator can cause problems. Over time, dust, dirt, oil, and general road grime can accumulate on its exterior. This gunk can interfere with its ability to dissipate heat, which is crucial for its longevity and performance. It can also get into the nooks and crannies, potentially affecting the cooling fan and even some of the electrical connections.
However, and this is a big 'however,' cleaning the internal components of an alternator is generally not recommended for the average car owner. The internal workings are pretty complex, and trying to disassemble it without proper knowledge and tools is a recipe for disaster. You’re more likely to break it than fix it.
So, when we talk about cleaning an alternator, we’re primarily focusing on the exterior cleaning. This is the accessible part, the part that might be contributing to overheating or general grimy behavior.
Why Would You Even Consider Cleaning An Alternator?
Good question! Why bother with this potentially fiddly task? Well, there are a few scenarios where a good exterior clean might be beneficial, and sometimes, even necessary:
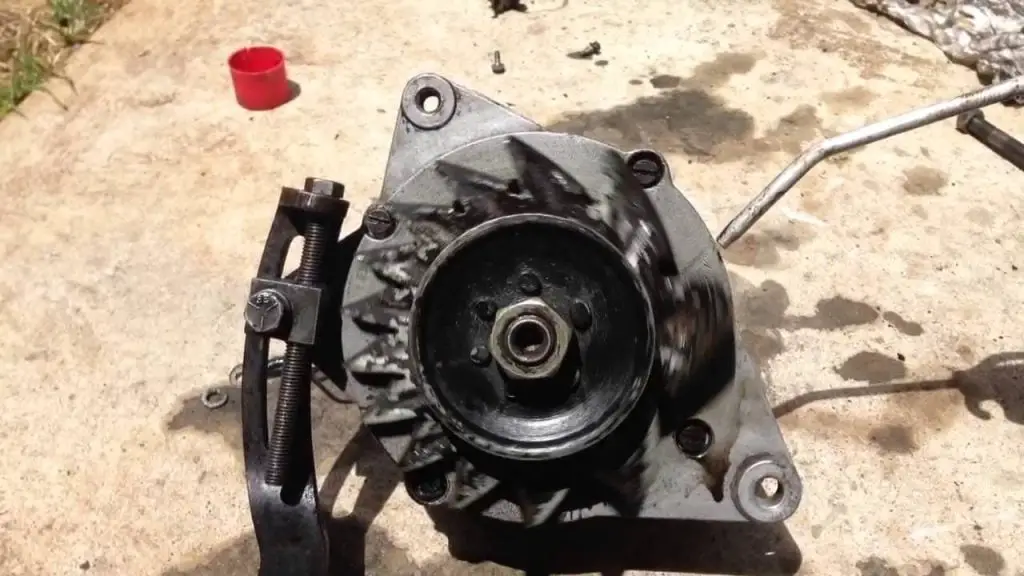
- Overheating Issues: If your alternator is consistently running hotter than it should, a buildup of grime on its casing and cooling fins can be a contributing factor. That gunk acts like a blanket, trapping heat.
- Visible Dirt and Grime: Sometimes, you just look under the hood and see a layer of thick, caked-on dirt. This isn't just unsightly; it can impede airflow and potentially work its way into other components.
- Corrosion on Connectors: While not strictly "cleaning the alternator," you might notice corrosion on the terminals or connectors that attach to the alternator. Cleaning these can ensure a good electrical connection, which is vital for its operation.
- Preventative Maintenance: If you’re the type who likes to keep everything shipshape under the hood, a good exterior clean can be part of your regular maintenance routine. It’s a bit like dusting your living room – it might not be strictly necessary for survival, but it keeps things looking and feeling better.
Now, is cleaning an alternator going to magically fix a failed alternator? Probably not. If your car is experiencing classic alternator failure symptoms – dimming headlights, a dead battery even after charging, a whining noise, or a battery warning light – cleaning the exterior is unlikely to be the silver bullet. In those cases, the problem is likely internal, and replacement is usually the only fix. Earl, my mechanic friend, would definitely tell you that.
The Actual "How-To" (With All the Warnings!)
Alright, so you've decided your alternator's exterior could use a little sprucing up. Here’s how you can approach it, and please, pay attention to the warnings. We don't want any more 2 AM highway breakdowns!
Step 1: Safety First! (Seriously, This is Non-Negotiable)
Before you even think about touching a rag or a spray bottle, you need to ensure the engine is completely cool. Like, ice cold cool. Working on a hot engine is a fast track to a nasty burn. Then, and this is crucial, disconnect the negative battery terminal. This prevents any accidental short circuits or sparks while you’re working. Think of it as putting the car in "do not disturb" mode.
Step 2: Identify Your Target Area.
Take a good look at the alternator. What are you seeing? Is it just a dusty surface? Is there greasy buildup? Are the cooling fins caked with gunk? Your approach will depend on the type of grime.
Step 3: Gather Your Supplies.
You don’t need a whole arsenal for this. A few key items will do:
- Gentle Degreaser: A good quality, automotive-specific degreaser is your best friend here. Avoid harsh chemicals that could damage plastic or rubber components.
- Soft Brushes: Think old toothbrushes, detail brushes, or even a soft-bristled paintbrush. These are for gently loosening dirt and grime.
- Microfiber Cloths: Plenty of them. They’re soft, absorbent, and won’t scratch surfaces.
- Compressed Air (Optional but Handy): A can of compressed air can be great for blowing out dust from nooks and crannies.
- Electrical Contact Cleaner (For Terminals Only): If you see corrosion on the electrical connectors, this is your go-to.
Step 4: The Gentle Cleaning Process.

Okay, here's where the magic (or at least, the mild improvement) happens:
- Dry Dusting: If it’s just a light dusting, sometimes a dry microfiber cloth or a blast of compressed air is all you need. Get into those cooling fins!
- Degreasing: For more stubborn grease and grime, spray your degreaser onto a cloth, NOT directly onto the alternator. You don’t want excess liquid getting into places it shouldn’t. Then, gently wipe down the exterior surfaces. Use your soft brushes to work the degreaser into tougher spots.
- Cleaning Connectors: If you see corrosion on the battery terminals or the main electrical connector, disconnect them if you can (again, with the battery disconnected!). Spray a small amount of electrical contact cleaner onto a cloth or a toothbrush, and gently scrub away the corrosion. Make sure it’s all dried off before reconnecting.
- Wipe Down: Use a clean, dry microfiber cloth to wipe away any residue from the degreaser or cleaning solutions.
Step 5: Let it Dry Completely!
This is another critical step. Ensure the alternator is completely dry before you reconnect the battery. Any residual moisture can cause electrical problems. Give it at least 15-30 minutes, or even longer if you can. Sunlight helps!
Step 6: Reconnect and Test.
Once you’re absolutely sure everything is dry, reconnect the negative battery terminal. Start your car and let it idle for a few minutes. Listen for any unusual noises and keep an eye on your dashboard for any warning lights. If everything seems normal, you’ve successfully given your alternator a little spa day!

When Cleaning Isn't Enough (The Hard Truth)
As much as we’d all love a simple cleaning to solve all our car woes, it’s important to be realistic. Cleaning the exterior of your alternator is a superficial fix. If your alternator is truly on its last legs, no amount of scrubbing will bring it back to life. Here are some signs that point to a more serious issue:
- Persistent Battery Warning Light: This is the most common indicator of alternator trouble. If it’s on and stays on, don’t ignore it.
- Dimming Lights or Electrical Issues: Headlights flickering, power windows acting sluggish, the radio cutting out – these can all be signs of an alternator not supplying enough power.
- Whining or Grinding Noise: This often comes from the bearings inside the alternator, which can't be fixed with a clean.
- Dead Battery, Repeatedly: If your car battery keeps dying, and you've confirmed the battery itself is good, the alternator is the prime suspect for not recharging it.
- Smell of Burning Rubber or Oil: This can indicate the alternator is overheating severely or its internal components are failing.
In these cases, your best bet is to consult a qualified mechanic. They can properly diagnose the issue and determine if replacement is necessary. While DIY cleaning is a fun and potentially helpful task, it's not a substitute for professional repair when it comes to major electrical components.
The Verdict: Is It Worth It?
So, can you clean an alternator? Yes, you can clean the exterior. Is it a guaranteed fix for alternator problems? Absolutely not. Is it worth doing as a preventative measure or to address minor grimy issues? For the mechanically inclined and those who enjoy keeping their engine bay tidy, it can be a satisfying and potentially beneficial task.
It’s like tending to a garden. You can weed and water, and it might look a lot better. But if the roots are rotten, no amount of surface care will save the plant. Your alternator is a complex machine, and while a little external TLC can’t hurt (if done correctly!), don’t expect miracles.
My ’98 Camry? Earl replaced the alternator. It cost a pretty penny, but the car ran like a dream afterwards. And while I never ended up cleaning that specific alternator myself, the curiosity it sparked led me down a path of learning more about my car. And isn’t that what it’s all about? Understanding these amazing machines that get us where we need to go, and maybe, just maybe, learning how to give them a little extra care along the way. So, next time you’re under the hood and see a dusty alternator, you’ll know you have a choice. A gentle clean, or a call to Earl.